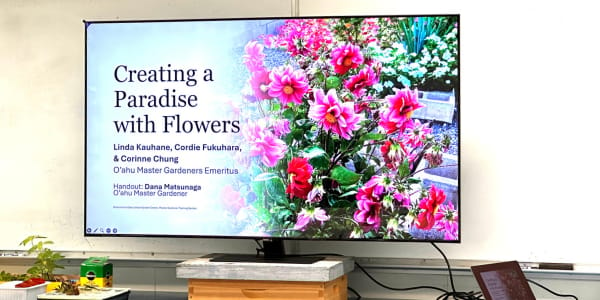
If you’re a gardener who thinks flowers is for those who have the luxury of space in their yard and focuses only on fruits and vegetables, you might want to reconsider. A recent O’ahu Master Gardeners workshop highlighted the fact that flowers not only beautify your garden, they attract pollinators like bees and butterflies to help ensure a bigger, better harvest of your crops.
Like all the other Urban Garden Center workshops I’ve attended, “Creating a Paradise with Flowers” was a refresher course on gardening principles I already know but don’t practice out of laziness or forgetfulness. Even though these workshops are billed as beginner sessions, I enjoy taking them because I always learn something new or am reminded of the importance of something I already learned.
All photography by Therese Padua Howe
Below are my takeaways from the workshop - if you have any questions, you can email or call the O’ahu Master Gardeners. Click here for information on how to contact them.
Selecting and Sourcing Seeds
The first step to a successful garden is smart seed selection.
Bigger is Better (for Beginners): If you're new to gardening, O’ahu Master Gardener Emeritus Linda Kauhane recommended starting with larger seeds as they are generally easier to handle and grow successfully.
Source Smart: For better quality and a wider variety of flowers, she prefers to buy directly from reputable seed companies such as Parker Seed Co. and Johnny’s Selected Seeds.
Annual vs. Perennial: You need to decide what you're growing:
Annuals flower once, then die.
Perennials flower multiple times over the years.
Read the back of the seed packet: It tells you vital information like how deep to plant, how long it takes to germinate, and how long before it blooms. If the germination time has passed, it’s not going to sprout, so you can just move on.
Storage Tip: To make your seeds last longer, store them in the fridge.
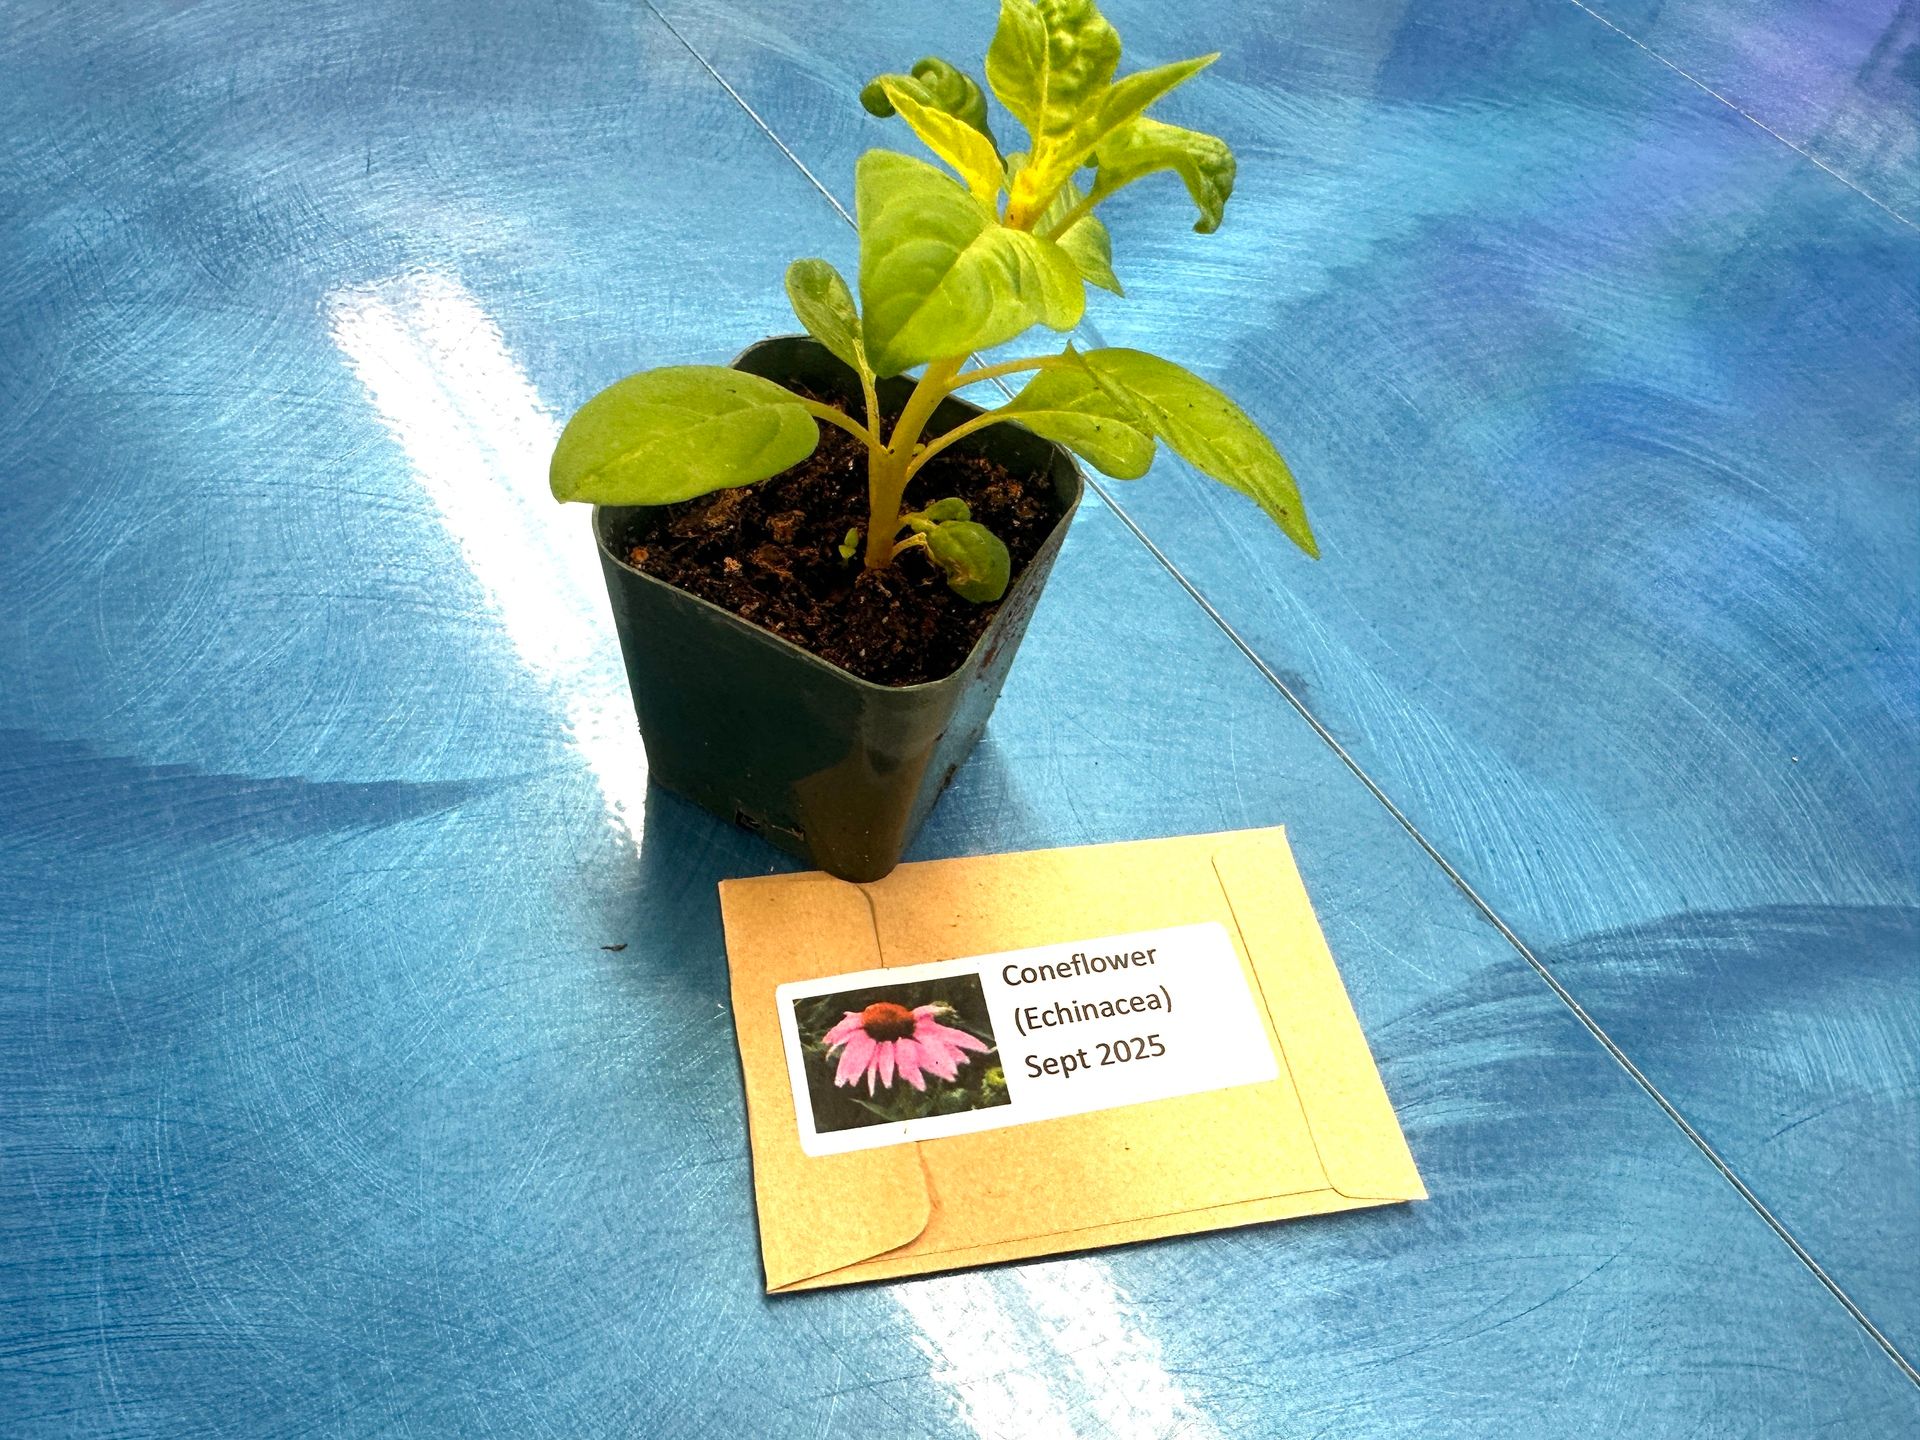
After the workshop, attendees were given a packet of coneflower seeds and a seedling!
Sowing the Seeds
This is where the magic happens, and a few small tips can make a huge difference.
Soil and Moisture: Invest in good soil like Sunshine Mix #4 — it truly makes a difference. Water your potting soil until it’s moist, but not dripping, before you plant the seeds. This helps the soil to absorbs moisture evenly, and helps seeds to stay in place, leading to better germination and plant establishment.
Her Sowing Method:
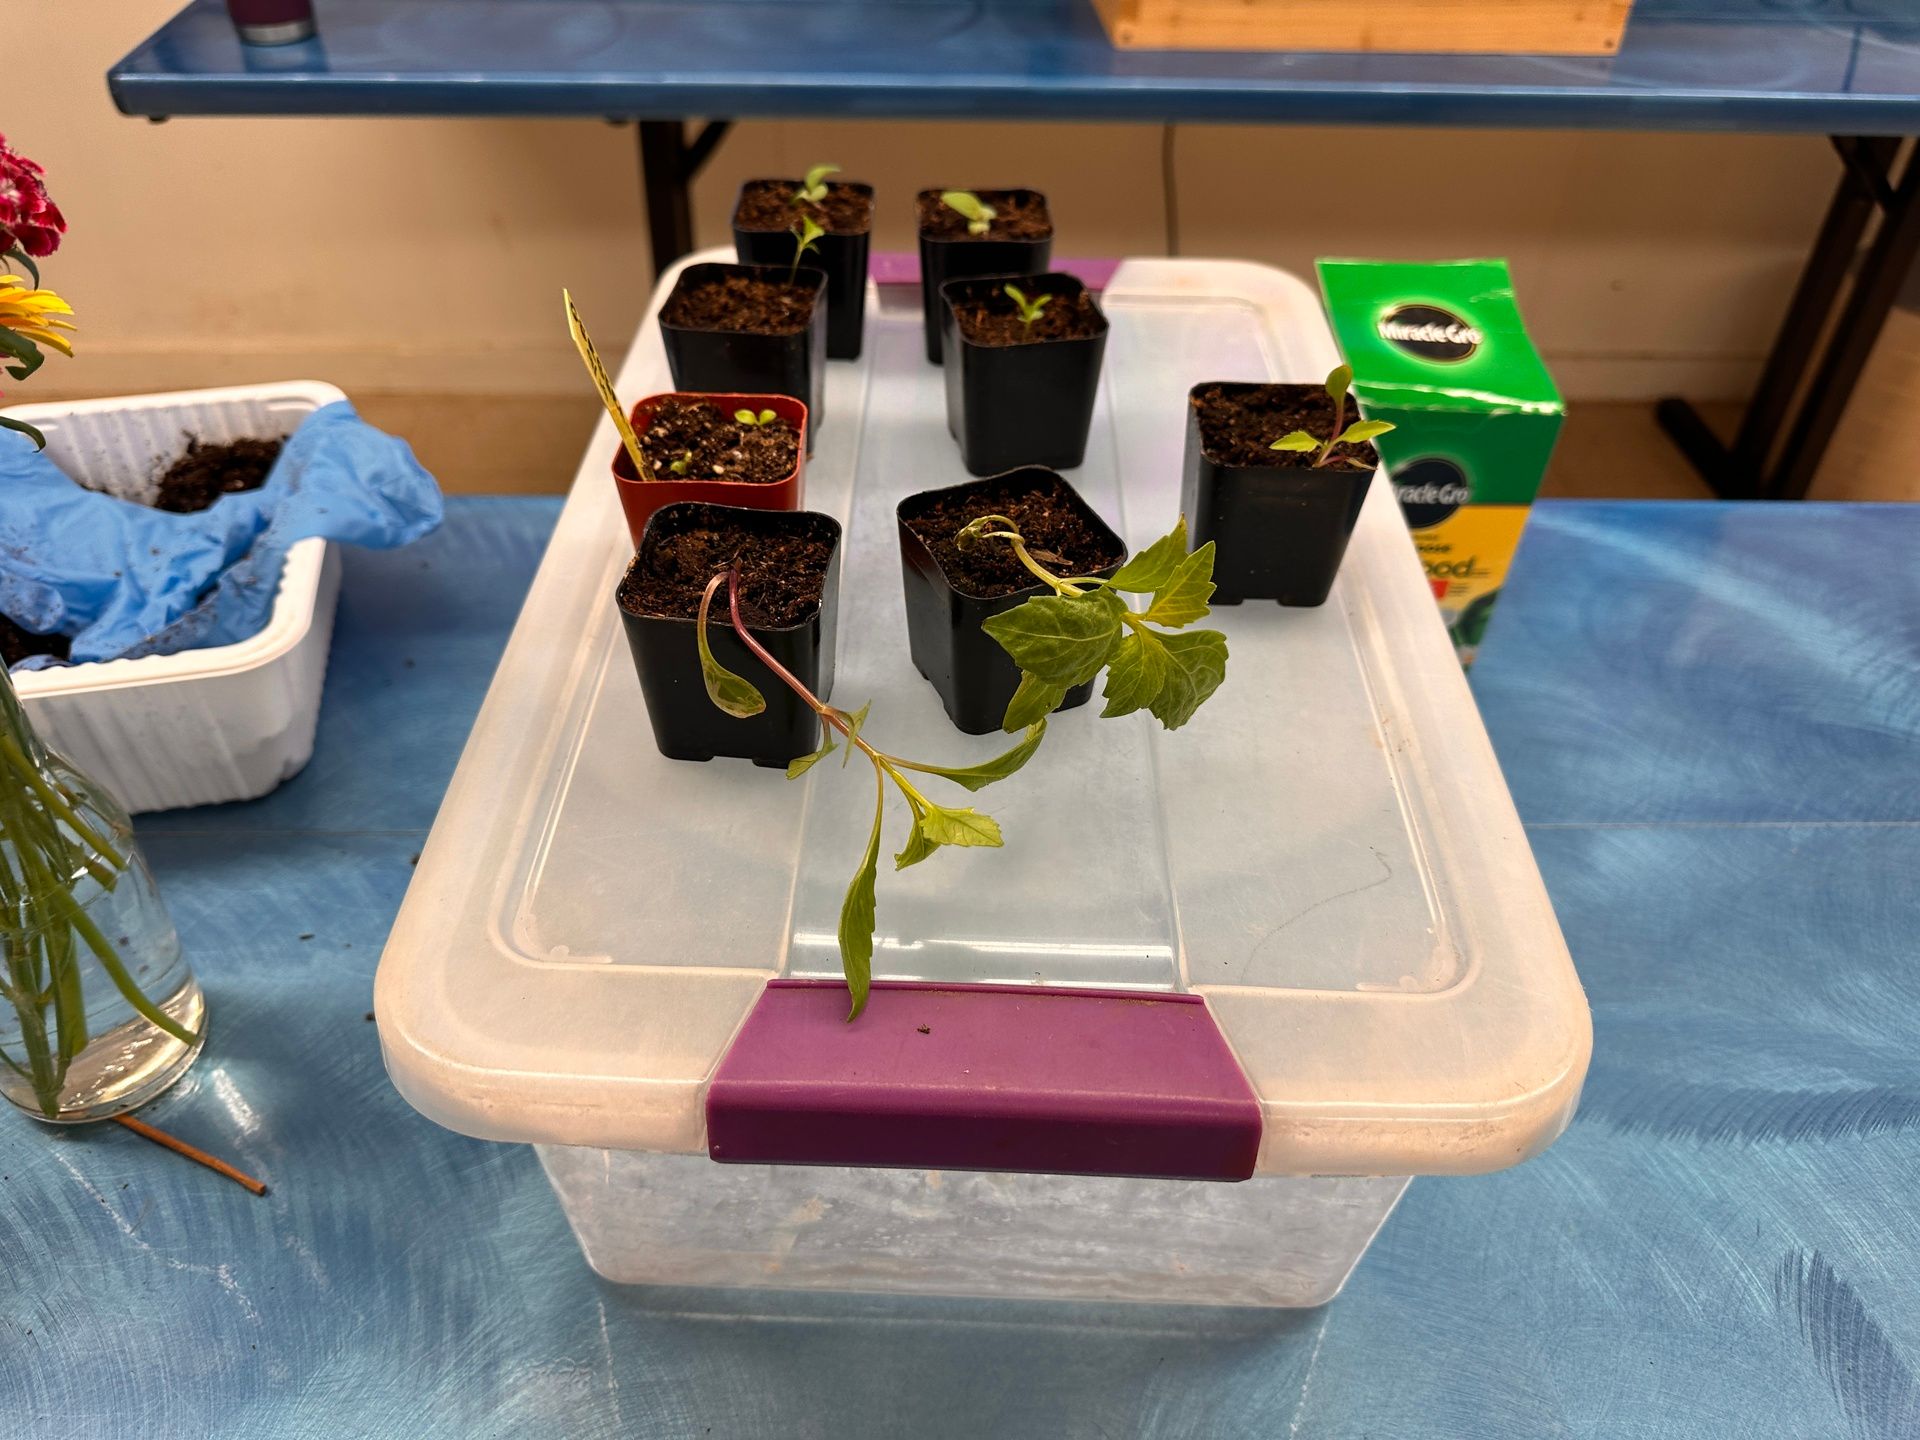
Place your small seed pots filled with soil in a plastic bin, which should have a cover to help them retain moisture and prevent them from drying out too fast.
Place the seed on top of the soil.
Use the blunt end of a skewer to push the seed down to the correct depth indicated on the seed packet.
You can place two seeds in one pot for insurance.
Post-Sowing Care: Once you’ve sown all the seeds and covered the bin, the greenhouse effect should take care of watering, and they should not need watering until the seeds have sprouted. Check the bin daily, and once the seeds have sprouted, take them out of the bin. If you leave them in too long, they tend to get spindly and gangly - but be aware that the seeds will naturally produce seedlings of differing heights.
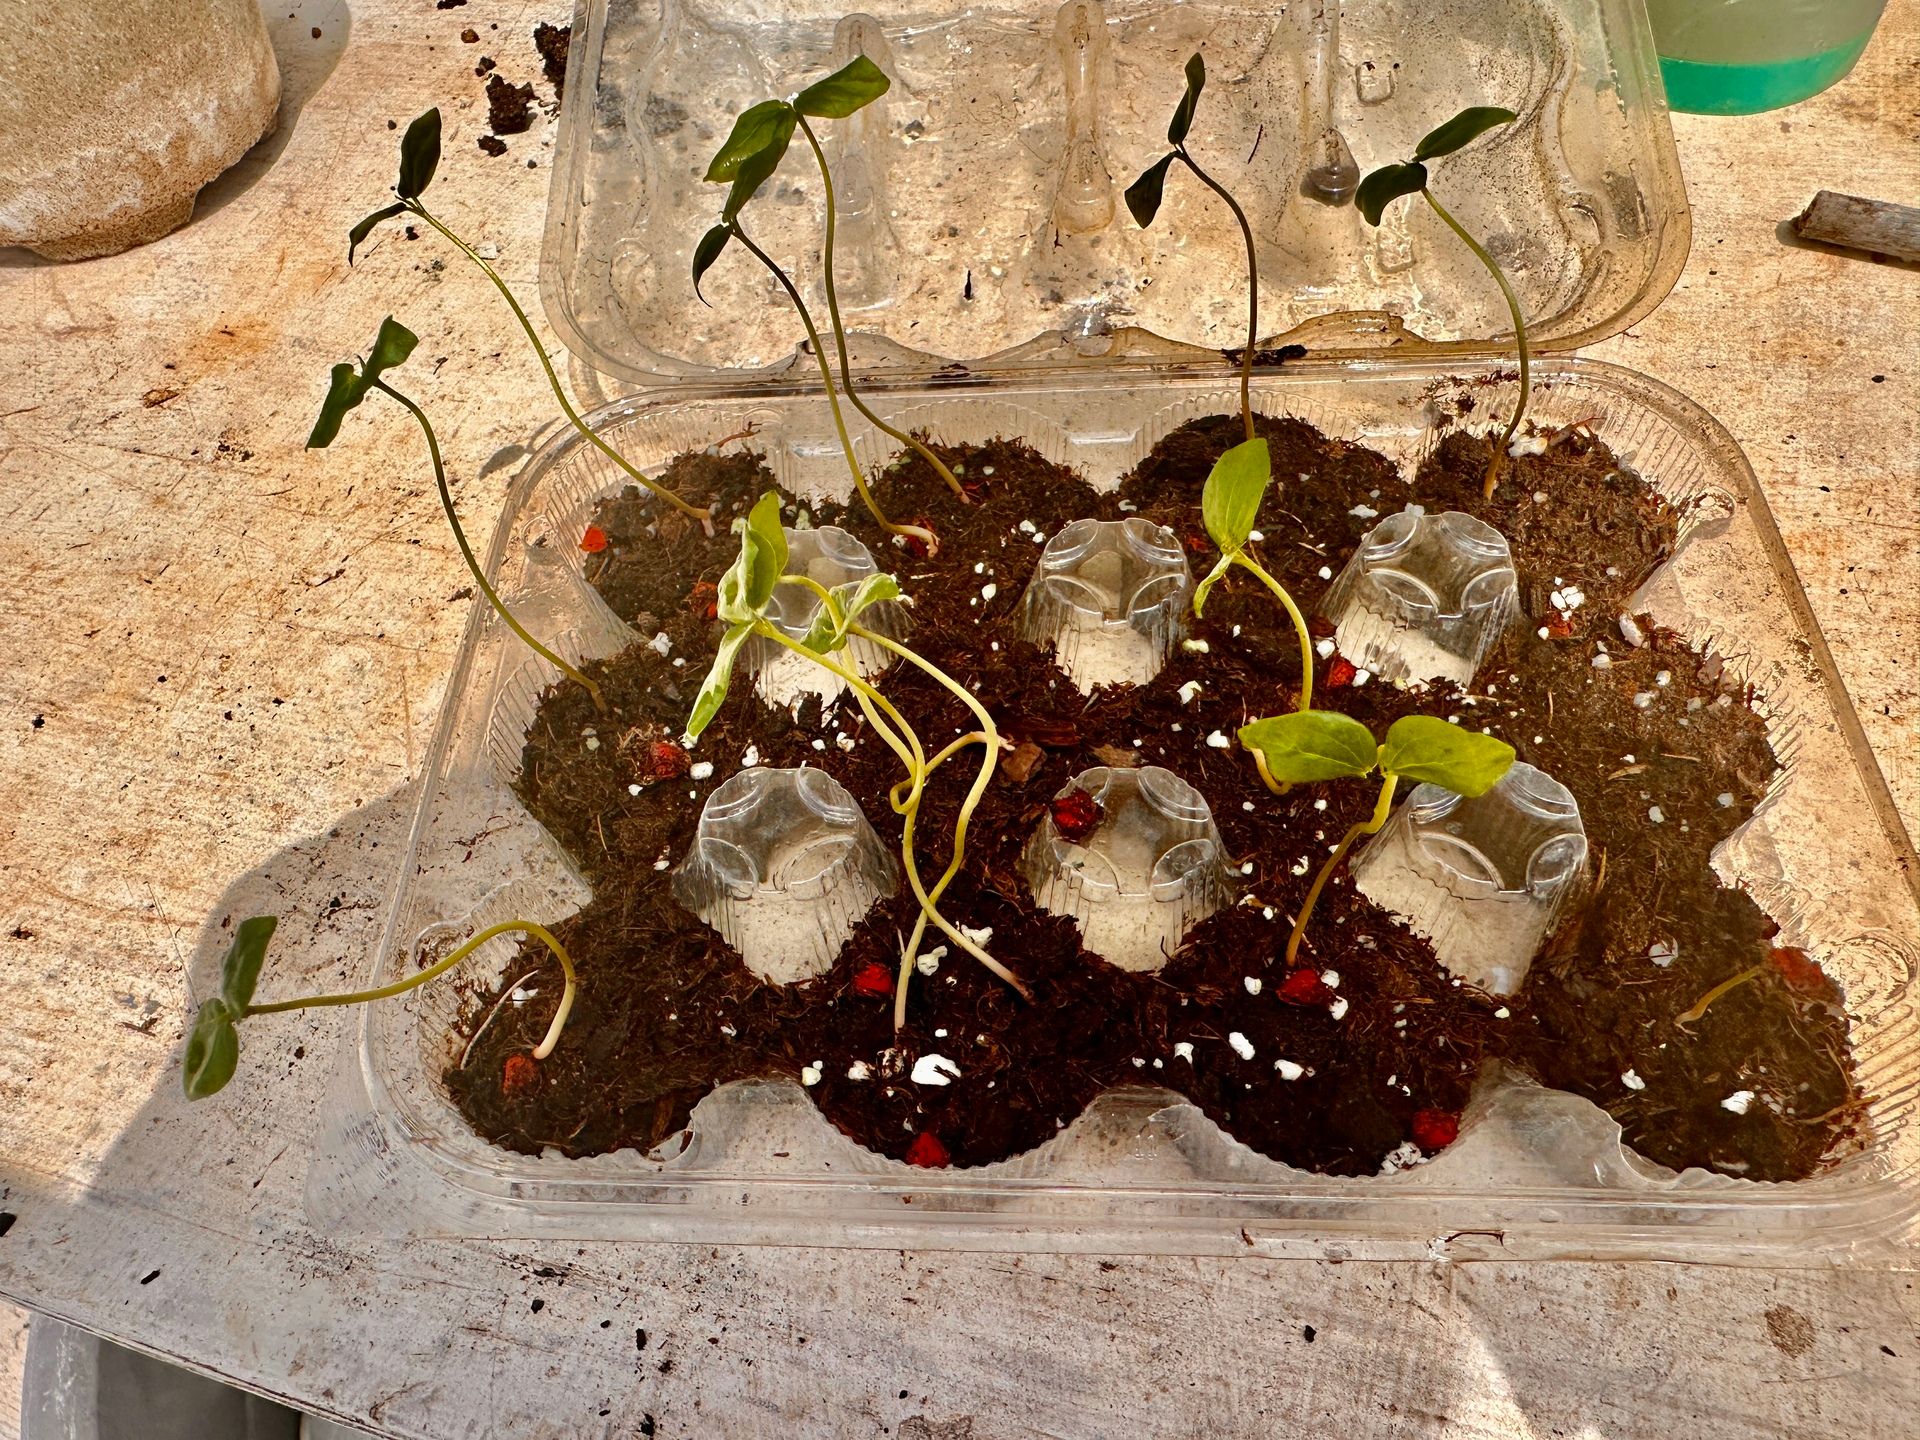
Achiote seedlings left too long in covered egg carton used as a seed starter. I know better now after taking this workshop.
Seedling Care and Transplanting
Once your seedlings emerge, the care shifts focus.
Watering: After removing the seedlings from the covered bin, you can place them in a pan or tray and use the bottom watering method to encourage strong root growth.
The First Leaves: The first leaves you see are cotyledons (part of the seed itself). You need to wait for the true leaves to appear before fertilizing and transplanting. True leaves look like the leaves of the mature plant, and have the ability photosynthesize light into energy while cotyledons do not.
Fertilizing: You can start to fertilize once the seedlings have their first set of true leaves.
Planting Out: Wait until they have two sets of true leaves before planting them out in the garden or into a bigger pot.
Garden Installation and Maintenance
Timing: Some flower varieties need 6-8 weeks before they are ready to be planted in the ground.
Planting: To plant the seedlings in your garden, first dig a hole, put compost or fertilizer in the hole, then gently place the plant with its soil intact into the hole. Water daily around the plant for the first week.
Feeding: You can use vermicast (worm castings) as a top dressing for ongoing soil health.
Deadheading: To encourage more blooms, deadhead spent flowers, but remember that where to cut depends on the specific plant.
Succession Planting: Plan to use succession planting by sowing seeds at different times throughout the season. This ensures you have fresh blooms continuously, which is great for consistent pollinator attraction.
Pest Patrol: A final note on pests: Linda shared a low-tech, effective tip: she picks slugs at night using tongs.
Find More O’ahu Master Gardener Events
Want to find more workshops and classes by the O’ahu Master Gardeners? Click here for the Eventbrite page!